Set overview image
Set overview image
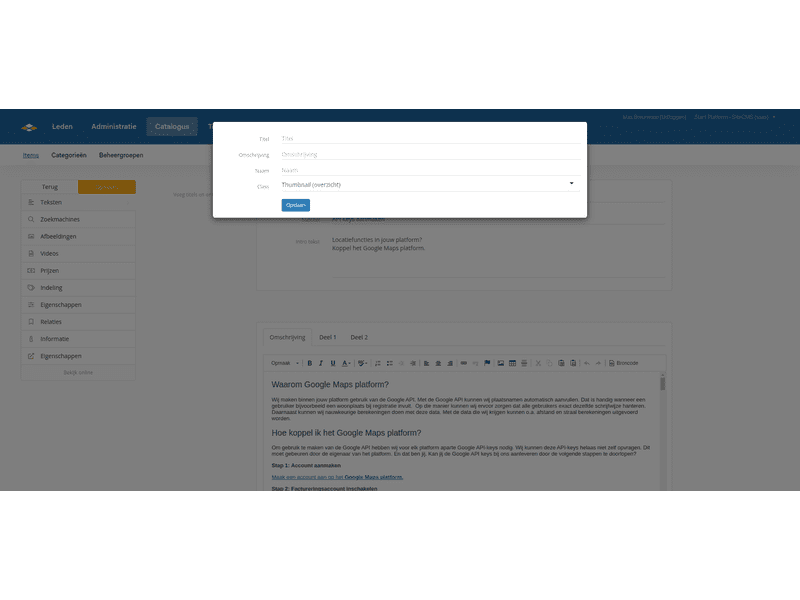
When you hover your mouse over the desired image that you want to set as an overview image in SiteCMS, a small menu will open by the image. In that menu, an i icon is displayed. When you click on it, you can give the image a class. You need to choose the overview class there. Then the image will appear in all overviews and also on the homepage.
You can only set one image as the overview image. The one you set first as the overview image will become the overview image. If multiple overview images are set, you can recognize them by a list icon displayed by the image. There is then another image set as the overview image. For the image you do not want to use as the overview image, you need to click on the i, clear the field in the class, and then save all changes.


